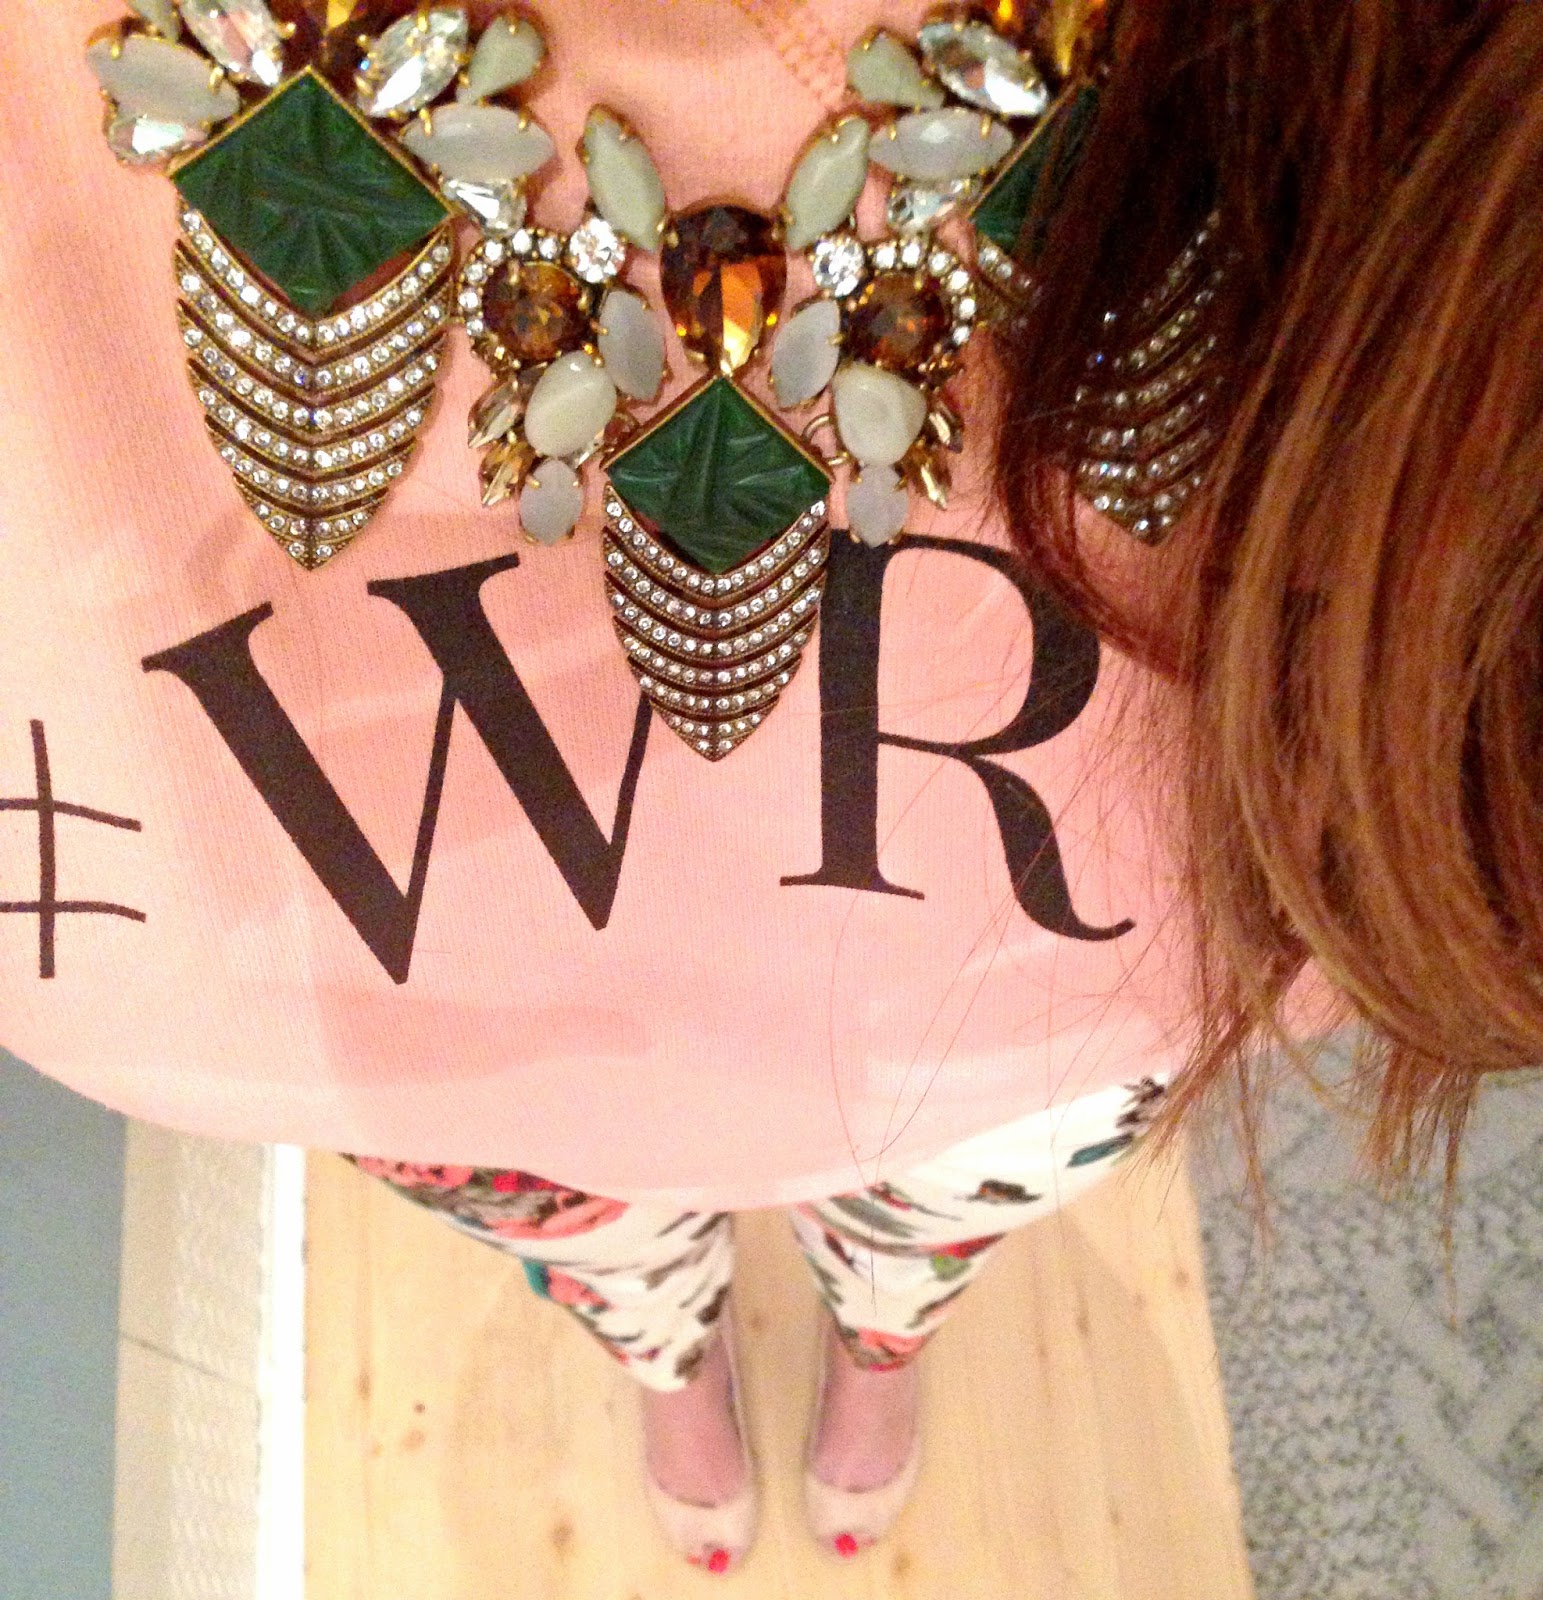
i was asked to attend an event at beauty brands to celebrate the launch of a new make up brand: laura geller. um, of course i said yes, why not!?
i love changing up my make up routine and testing out new product. plus this laura geller make up is basically organic (very few chemicals, just needed to hold it all together) with great pigmented colors.
so i got my whole face taken off, got a little moisturizer, primer called spackle (great for evening out your skin texture evened out and ready for make -up), and then bb creamed. loved it. and amber (who did my make up) gave me some great advise. she told me to exfoliate to get rid of all the dead skins cells, as she then informed me we're just like snakes, hilarious. but, i got it. and i loved the bb cream. if you haven't used bb cream before (like me, i know a little late to the party, but here we are) its pretty great for those who like light coverage. so, for spring/ summer (if it ever comes) it's totally perfect! also, it's great for baseball games (go royals), after your done swimming (amber and i both agreed that no one ever looks good after being in the water all day, and this is a now my summer necessity), oh and great for a quick grocery store face (hello saturday mornings).
this is the fabulous amber. she was so talented and just did her thing, and gave me tips and tricks along the way. i've got some great ones below. she played up my eyes and taught me how to properly apply highlighter (thank goodness).
here's the finished product, and below is how amber did it.
she started out with the baked marble eyeshadow duo in pink icing/devil's food. i was drawn to the dark brown and the shimmer.
step 1:amber used a brush like this to brush the pink color (left side of the palette) all over my lid.
step 2: she then used a brush like this to create a more defined darker crease using the dark brown color (right side of palette). she started in the middle of my lid, where my crease is and blended the brown out the the corners of my lash line, and then in toward blended the colors to the middle of my lid.
step 3: amber then used brush #2 to pick up more of the purples from the pink side, and rubbed it along the bottom of my eye. she started in the middle of my lower lash line and moved toward the outer corner.
step 4: added eye liner to the top eye lash line, this creates a fuller look for your lashes
step 5: curled my lashes and applied mascara (always in black)
now moving on to properly highlighting your face. amber showed me (below) to brush highlighter on properly.
step 1: amber grabbed a brush like this and loaded it with highlighter, tapped off the excess and brushed the highlighter along the tops of my cheeks.
step 2: she then loaded her brush again with higlighter, tapped off the excess and brushed the highlighter along the top on my nose.
i love the look highlighter gives, it just makes the make up look real and not too cakey looking.
amber finished the look with a little bit of powder (to give a little more coverage), blush (lightly, right on my check bone), and lip gloss (to give a natural look).
i have to say i was really impressed with the pigment and how well the make up held up. i have been using the hydrating lip crayon like lip gloss and i love it. i've never used anything like it, and i love it. it goes on sheer, but has great color. you can layer it on over and over to get a deeper color, and makes your lips feel good.
if you're looking for a new line of make up to try, i recommend going into beauty brands and having them show you the line. also, they have this great started kit, that make's a great mother's day present too (or keep it for yourself) great value for the amount of product you get!
xo,
cait


.JPG)
.JPG)
.JPG)
.JPG)
.JPG)
.JPG)
.JPG)
.JPG)
.JPG)
.JPG)
.JPG)

.JPG)
.JPG)


.JPG)
.JPG)
.JPG)
.JPG)
.JPG)
.JPG)

.JPG)
.JPG)
.JPG)
.JPG)
.JPG)
.JPG)
.JPG)
.JPG)


